Charged EVs | Identifying the root cause of particle contamination in electronic automotive components


Production processes, the production environment, and the final packaging all have an influence on component cleanliness. As a result, compliance agreements with limiting values often need to be implemented between the customer and supplier or between product development and production. This means that the cleanliness requirements are not fixed and can be specifically chosen by the customer in accordance with the product geometry function, manufacturability, and verifiability of the component.
Technical cleanliness is attracting increased attention in industry because it promotes the efficiency and effectiveness of individual industrial products. Not only does it begin with the suppliers at the very start of the production chain, it is applicable to all industries – covering implants in the field of medical technology, engine components and assemblies in automotive settings, and even fuels and lubricants in aerospace. Particulate contamination may impair performance in the automotive industry by migrating from previously non-critical areas to sensitive locations such as semiconductors, with metallic and non-metallic particles that gather on these parts causing the car to malfunction or even stopping the engine.
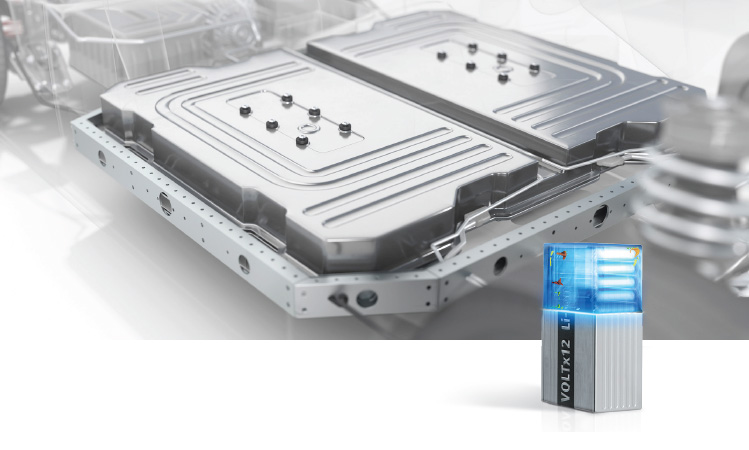
This content specifically addresses particle contamination on a lithium-ion battery. Though this issue is primarily associated with the automotive industry at present, it is also of wider relevance for many other industries.
The quality solution: technical cleanliness. But what is technical cleanliness?
Technical cleanliness is a two-stage procedure that uses a light microscope to examine the number and size of particles present, then deploys an electron microscope to confirm the chemical composition and origin of the particles. It therefore seeks to eliminate system failures that could potentially be caused by these particles. The necessary level of technical cleanliness is determined on the basis of the particle-sensitive points on the system in question. The relevant particles may also differ in character – while combustion engines typically encounter hard and abrasive metallic particles, electronic engines can be susceptible to low- and high-conductivity particles. Most particles are generated during the processing of components and assemblies (approx. 80%) and only a fraction (approx. 20%) are due to environmental influences. Since manufacturers cannot address every possible malfunction and manufacturing process, the aim here is to focus on metallic particles.
VDA 19/ISO 16232 was established as a standard for enabling customers and suppliers to address the risk of potential damage to products across the production chain. In the electronics industry, VDA 19 does not specify any limiting values for component cleanliness. These must be defined according to component function, producibility, and verifiability. When residual contamination is sufficiently low, the system is considered adequately clean.
VDA 19.2: a brief overview
The aim of VDA 19.2 is to prevent critical particulate contamination at sensitive sites, to remove unavoidable particles, and to protect components and assembled systems against the entry of particles from the surroundings. As well as targeting these technical goals, the guideline also helps standardize procedures for planning and optimizing cleanliness-sensitive assembly areas. It is essential for the product development process.
The Illig method, as described in the VDA 19.2 standard, is used to test the cleanliness of a given location based on its environmental conditions – such as air or workbenches. Particle traps make it possible to analyze the number of sedimented particles per time unit (Illig value). The detected particle number per size class is multiplied by a weighting factor, added up, and normalized to calculate the Illig value. This Illig value is generated by normalizing the sum value to an area of 1000 cm2 and a measuring time of 1 h. The calculated Illig value provides the basis for comparing the collected particle contamination at different locations over a certain time period. With the Illig formula, larger particles are more heavily weighted than smaller ones as the former are more likely to have a higher damage potential.

Ion battery structure
All lithium-ion batteries share the same fundamental structure, comprising an anode and a cathode that need to be kept a fixed distance apart. They also feature an electrolyte that lets the charge transfer from one electrode to the other.
Foils act as the separator in such batteries. Not only must this be sufficiently flexible to prevent short circuits by maintaining the necessary gap between the electrodes, it needs to be structured in a way that allows the ions generated in the electrolyte to pass through.
Contamination errors in the manufacturing process of an ion battery
Lithium-ion batteries are very sensitive to contamination in the manufacturing process. Contamination in the form of particulate, ionic contamination, and even water can all cause significant levels of defects in the finished product.
A moisture environment can react with active materials and render them non-functional, which is why the manufacturing process needs to be undertaken in an extremely dry environment. This results in very high static charges during the process and causes the attraction of particles. These particles present a high risk of penetrating the separator foil and thereby causing short circuits. The consequences of lithium-ion battery contamination are only seen when the end customer puts the battery into operation.
Cleanliness – preventing particle contamination
Metallic particles present a higher risk of damaging the battery cell, which can cause lithium dendrite growth, an electrical short, or thermal runaway – a significant safety issue for the lithium-ion battery. These metallic particles can easily be accumulated when transporting the battery or during the manufacturing process, with every metallic particle over the size of 5 μm considered critical for the battery. Since the blade cutter is the main root cause of metal burrs on copper and aluminum, users must make a trade-off between quality and cost in deciding when to change the blade.
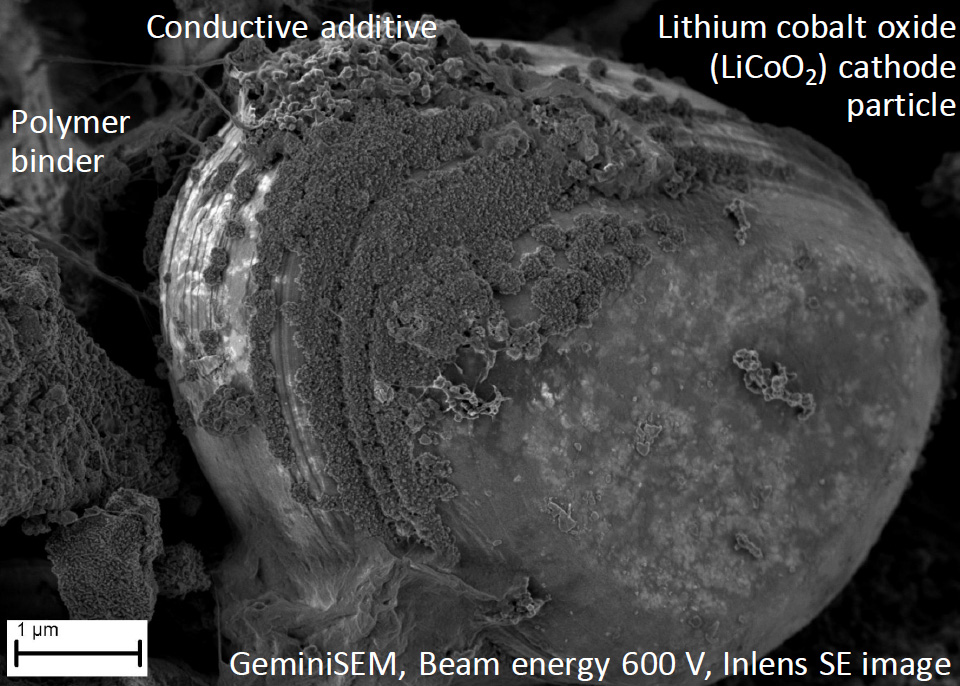
Working in combination with the ZEISS Technical Cleanliness Analysis (TCA) software, ZEISS light microscopes provide quantitative particle analysis that distinguishes between the metal, fiber, and non-metal particle types down to a size of 1 µm. Electron microscopes from ZEISS instantly state the chemical composition of each particle. ZEISS technical cleanliness solutions therefore offer ideal imaging for diverse customer groups from R&D through to mass production.
And the intuitive correlative workflow implemented by ZEISS, which ensures perfect interplay between the hardware and software, makes it easy to move from light to electron microscopes.
Electric vehicle battery contamination
Battery cells handle highly complex and electrochemical processes that form the most important part of an electric car. A vehicle battery must withstand many challenges relating to aspects such as its size, the different components from which it is made, and the high voltages transferred by these components. Any particle contamination in the processed part can affect the lifetime and quality of the battery. Iron particles located at the anode, cathode, or separator can cause the battery cell to self-discharge. And since contamination may also cause overheating that leads to the destruction of the battery cell, technical cleanliness within the manufacturing process is more important than ever.

Quality gates during battery development and production
Battery manufacturers cannot take shortcuts on quality if they wish to become serious players in the growing market for new energy vehicles (NEVs).
Quality assurance begins with research and development, continues through every step of production, and even affects how the raw materials are processed for assembly of the battery modules.
ZEISS Industrial Quality Solutions
zeiss.com/metrology, info.metrology.us@zeiss.com, 1-800-327-9735